In this article, learn how to use OneNote in 2024. Microsoft OneNote is a note-taking application that can be used in computers, desktops, and laptops. It can run on mobile phones including Android and iPhones. Also, you can use it effectively on Mac PCs to take your notes as fast as possible. It is one of the component apps in Microsoft 365 suite. Whether you are using HP, Lenovo, Acer, Dell, Asus, MSI or Microsoft laptops that run Windows 10 or 11 operating system, you can use OneNote on it.

How to Get OneNote
As stated before, you can use OneNote on Windows PC, Mac, iPhone and Android smartphones. In addition, you can use it on the web irrespective of the type of device you are using (including Linux operating system).
To use the software on the web, visit www.onenote.com. As the website opens, login with your Microsoft account details. If you do not have Microsoft account, signup for one. In this articles, the focus is on how to use the program on a computer as a desktop application.
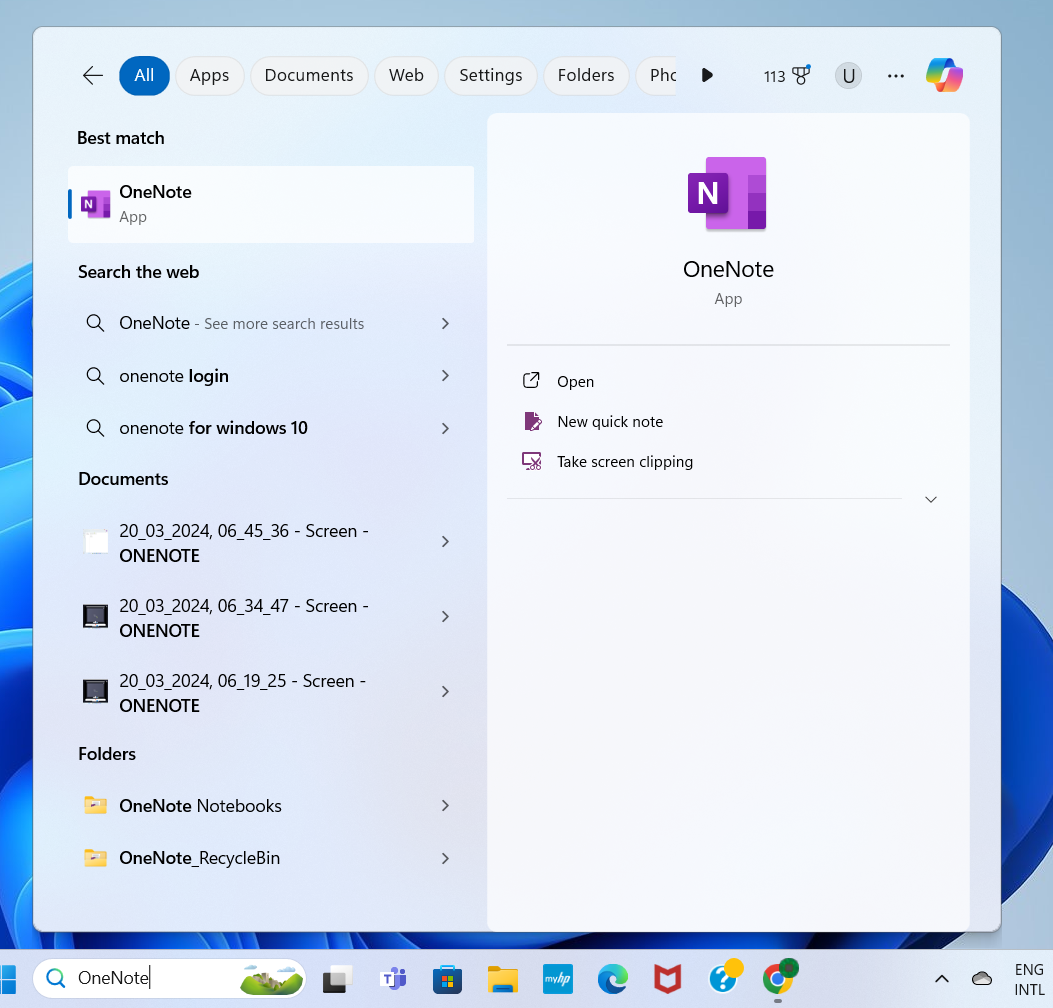
Click on the Search app of your Windows 10, or 11 laptop. Type in the word “OneNote”.

Select the best match from the returns.
How to Create Your First Notebook
As the program opens, create your first notebook. Know that your notebook files are automatically backup on OneDrive cloud storage app as you create them. They are backed up automatically in the cloud.
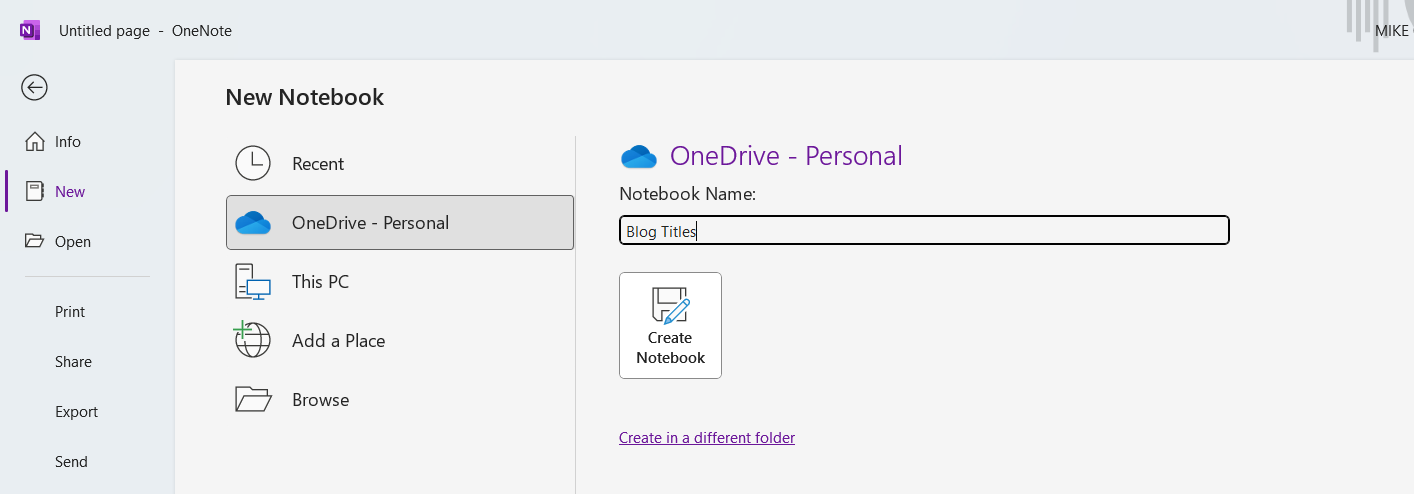
To create a new notebook, click the File tab. From the options, select New. Give the notebook a name of your choice in the space provided.

Click Create Notebook button to create it. This action will create a notebook immediately. A dialog box shows up with the text “Your notebook has been created. Would you like to share it with other people?” Just click Note now button. It will open in a new interface for you to start typing your text.
OneNote Tabs
There are major tabs of a notebook. These tabs are File, Home, Insert, Draw, History, Review, View and Help. Each of these tabs contains some commands that work as the name.
Example, the Home tab contains some commands that you can use for formatting of the text added in the notebook. They include font command, font size, underline, italics, Bold and so on.
The Insert tab contains some commands that you can use to insert objects or files in a notebook. If you want to insert photo for instance, the Photo command can do the job for you. Click the Photo command first. Select the location you want to source the image and add it in your notebook.
Adding Titles to OneNote Page and Working on the Notebook Body
As the notebook opens fully, give a heading to the note you want to create. After that, press the Enter key of your keyboard. This will take you to the body section of the note.
In the body, type in your points. Example is the list of videos I want to create for a particular month in my YouTube channel. Click at another space in the notebook to keep creating. At the end, you can drag a note segment to any part of the page. Take your cursor the segment and press and hold on the left button of your mouse. And lastly, drag the block to a new position on the page.
Text Formatting
You can format the text you have in your notebook. Some of the formatting tasks are changing font, font size, font colors, underline, and others.
For you to format a text, just select the text first. After the selection, click the Home tab and select the command you want to apply to the text.

From the Screenshot, you can see the commands in the Home tab. As the text in the body is selected, click any command to make changes on the selected text.
Adding Pages and Sections on OneNote Notebook
Different pages and sections can be created a notebook. Click Add Page to add a new page to the notebook you are working on. One can create new section. If you want to create a section, click the New section button at the left margin and it is created.
Watch the YouTube Video Tutorial
Get everything more easily through my video tutorial. Check it by clicking this link https://youtu.be/IFnzf6GVyCw
Related Titles in this Channel that you need to read
Leave a Reply